
Infrared thermometers have become increasingly popular over the years due to their accuracy and ease of use. They are a useful tool for taking temperature readings of everything from food to machinery. They are widely used in a variety of industries, from food service to manufacturing, and are also handy for home use.
One of the unique features of an infrared thermometer is that it can take temperature readings quickly and without making contact with the object being measured. Are you having a hard time using an infrared thermometer? This article highlights the nine simple steps on how to use infrared thermometer effectively.
Read the Manual
Before using an infrared thermometer, it is essential to read the manual thoroughly. Each thermometer may have slightly different features, so ensure you read the manual in order to understand how the infrared thermometer works to make sure that you get accurate readings.
Prepare the Thermometer
Before setting out to use your infrared thermometer, make sure it is in good working condition by checking the battery level and cleaning the lens. If the lens is dirty, it can affect the accuracy of the readings. To clean the lens, simply wipe it with a clean, soft cloth. A low battery can affect the accuracy of the readings and may even cause the thermometer to malfunction. If the battery is low, replace it or charge it before use.
Calibrate the Thermometer
It is important to calibrate your infrared thermometer periodically to ensure accurate readings. Calibration involves comparing the readings of your thermometer to a known reference, such as a calibrated reference thermometer. Follow the manufacturer’s instructions for calibration, or consider sending your thermometer to a professional calibration service.
Check the Distance and Emissivity Settings
Before you begin taking temperature readings, ensure that your infrared thermometer is set to the correct distance and emissivity settings. These settings will vary depending on the object you are measuring. For example, if you are measuring a shiny or reflective surface, you may need to adjust the emissivity setting to compensate for the surface’s reflectivity.
Aim the Thermometer
Aim the infrared thermometer at the object you want to measure. Make sure that you are pointing the thermometer at the object’s center, as this will give you the most accurate reading. It is important to note that the infrared thermometer measures the surface temperature of the object, not the internal temperature.
Pull the Trigger
Once you have aimed the thermometer, pull the trigger to take a temperature reading. Some thermometers may require you to hold down the trigger to continuously measure the temperature.
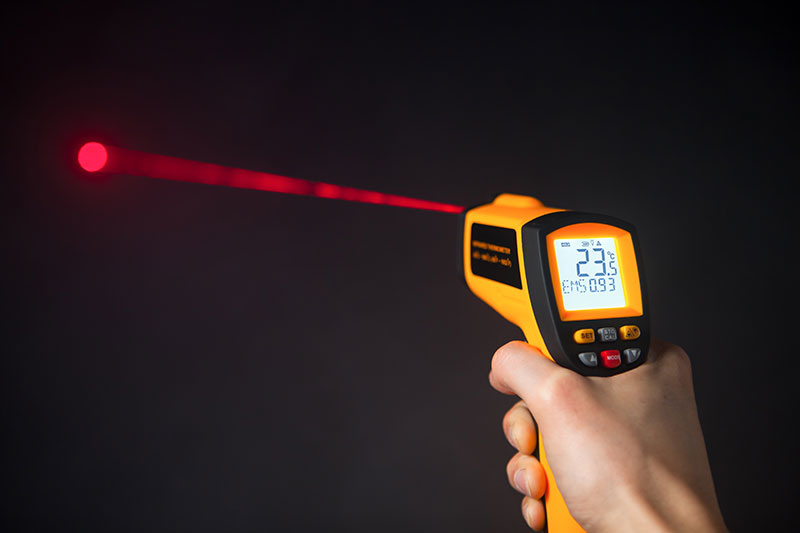
Read the Temperature
Once you have taken a temperature reading, the thermometer will display the temperature on its screen. Read the temperature and take note of any fluctuations in temperature if you are taking multiple readings.
Take Multiple Readings
To ensure accuracy, it is recommended to take multiple temperature readings of the same object from different angles or locations. This can help you identify any hot or cold spots and get a more accurate overall temperature reading.
Store the Thermometer
Once you have finished using the infrared thermometer, it is advisable that you store it in a cool, dry place. Make sure to keep the lens clean to prevent any dust or debris from affecting the accuracy of future readings.